Create Websites, Publish Content, and Grow with iPublisher’s AI-Powered CMS, featuring live sports data integration, All in one!
iPublisher © 2025. All Rights Reserved
Create Websites, Publish Content, and Grow with iPublisher’s AI-Powered CMS, featuring live sports data integration, All in one!

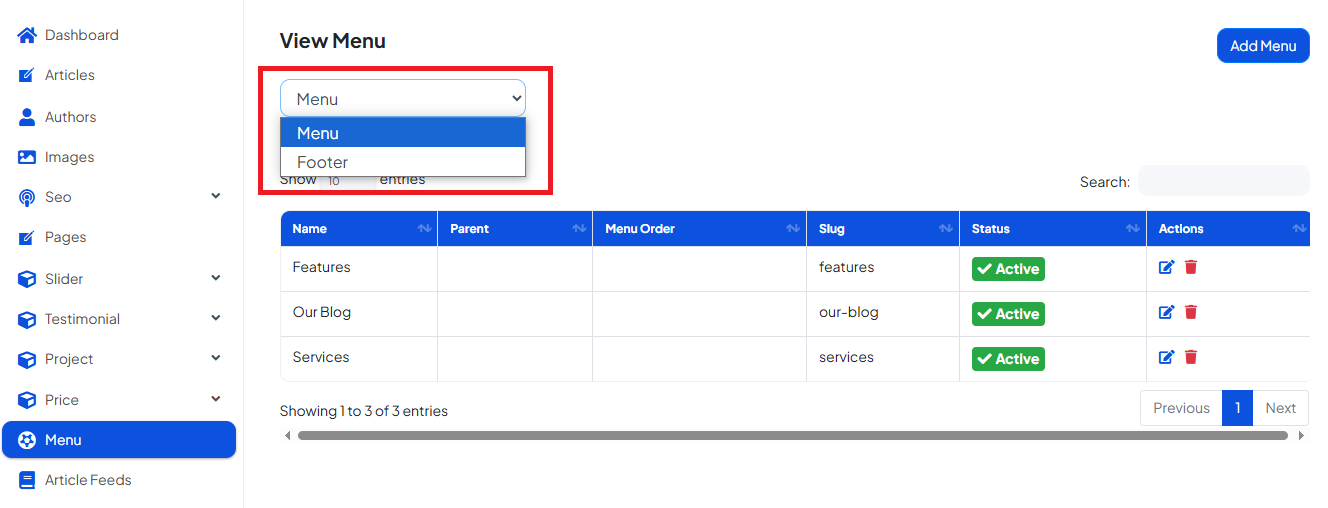
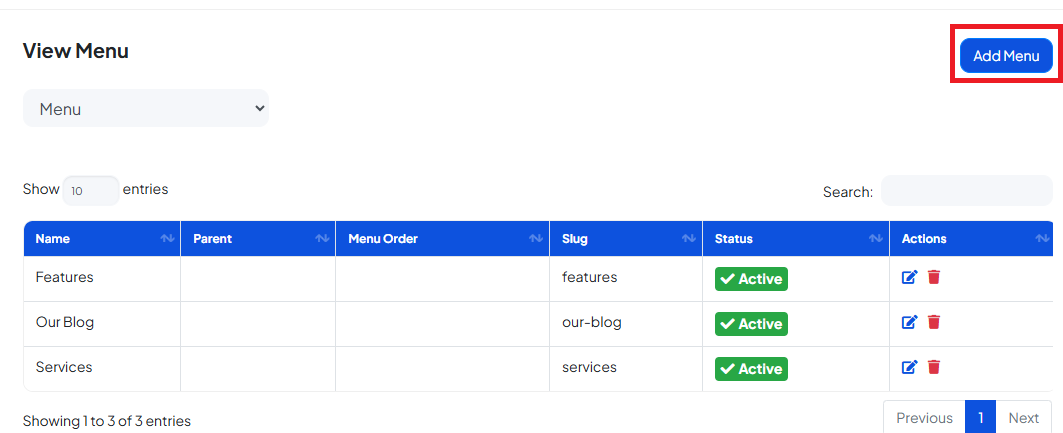
Managing categories on your website using iPublisher CMS is simple. Follow the steps below to add, remove, or hide categories from your site's menu.
Managing categories on your website using iPublisher CMS is simple. Follow the steps below to add, remove, or hide categories from your site's menu.
Step 1: Add a New Category
Step 1: Deleting a Category
Step1: Hiding / Disabling the category:
If you don’t want to delete a category but simply want to hide it:
This will hide the category from your site's menu without deleting it.
If you need assistance with any specific part of the website setup or customization, feel free to consult our other help articles or contact our support team. We’re here to help!