How to Add Pages to the Menu or Footer of Your Website on iPublisher CMS
Adding pages to your website’s Menu or Footer in iPublisher CMS is quick and straightforward. Just follow the steps below.
Add Pages to the Menu or Footer
Step 1: Log in and Access the Menu Section
- Start by logging in to your iPublisher CMS account.
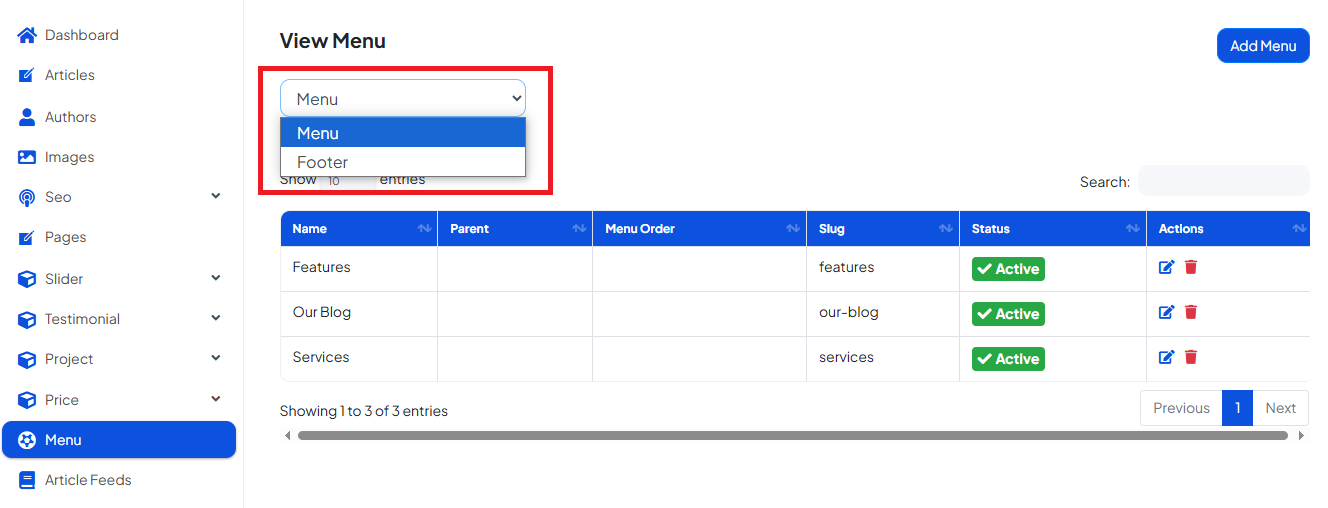
- Once logged in, navigate to the "Menu" section from the left-hand sidebar.

Step 2: Add a Page to the Menu
- Ensure "Menu" is selected from the dropdown at the top.
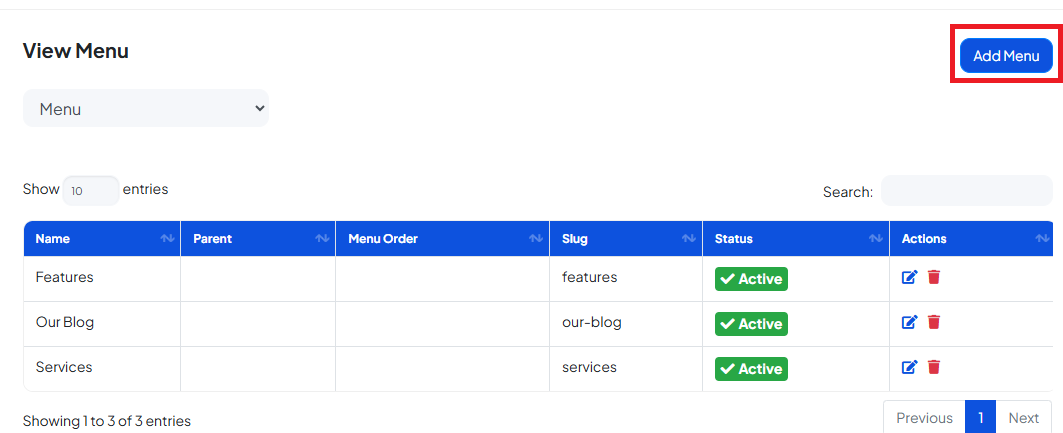
- Click the “Add Menu” button. This will open the Add Menu Setup popup.
-
In the popup:
- Page Type: Select the type of page you want to add (e.g., default, embed, live center, external link, page).
- Parent Category: Choose a parent menu item if this is a sub-page.
- Menu Order: Enter the position number for where this page should appear (e.g., enter 3 to make it the third item). Make sure the number isn't already used.
- Meta Details: Add a Meta Title, Meta Description, and Meta Keywords for SEO.
- Active Toggle: Turn this on if you want the page to be visible in the menu.
- Premium Toggle: Turn this on if the page should be accessible to premium users only.
- Click "Save Changes" to add the page to your menu.

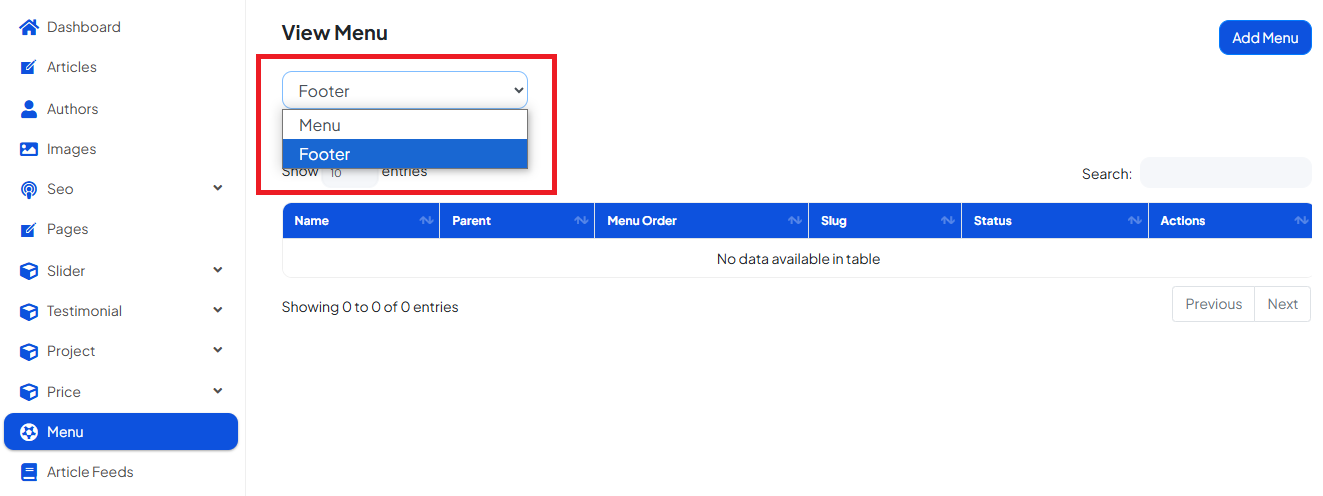
Step 3: Add a Page to the Footer
To add items to the Footer, simply:
- Select "Footer" from the dropdown instead of "Menu."
- Repeat the same steps listed above for setting up the page.
Need More Help?
If you need assistance with any specific part of the website setup or customization, feel free to consult our other help articles or contact our support team. We’re here to help!

