Create Websites, Publish Content, and Grow with iPublisher’s AI-Powered CMS, featuring live sports data integration, All in one!
iPublisher © 2025. All Rights Reserved
Create Websites, Publish Content, and Grow with iPublisher’s AI-Powered CMS, featuring live sports data integration, All in one!

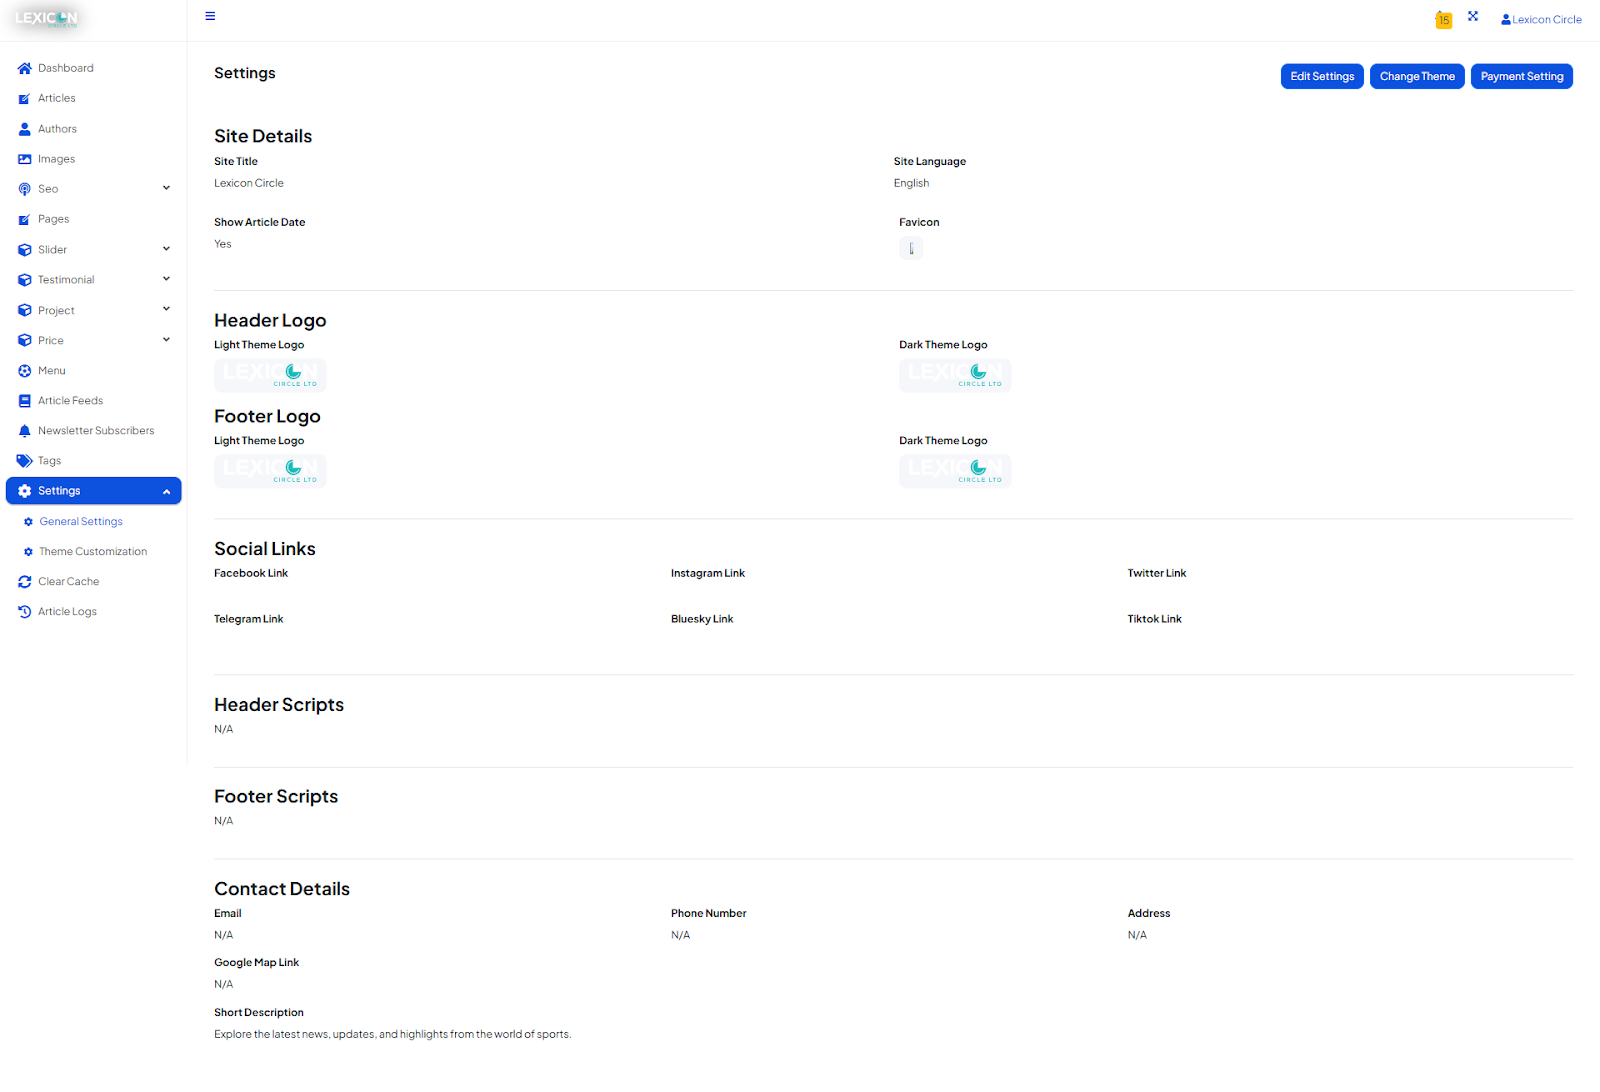
iPublisher CMS makes it easy to update your website's basic settings, including logos for light and dark themes, social links, contact info, and more. Follow the steps below to customize your general site settings quickly.
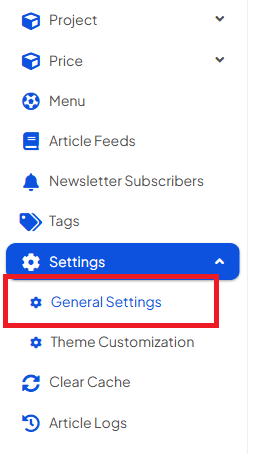
Step 1: Log In and Access General Settings
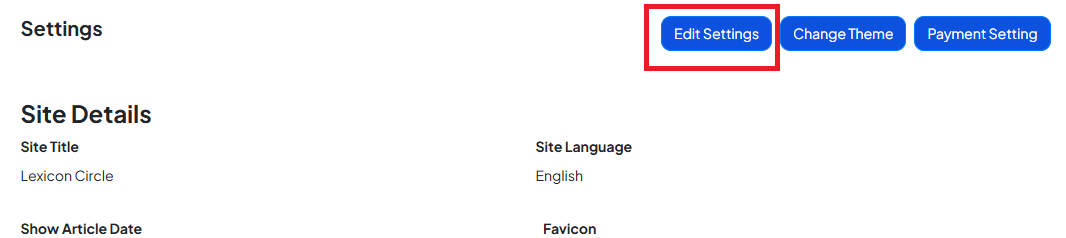
Step 2: Edit Your General Site Information
To make any changes, click on the edit settings button. The fields will become editable now.
Step 3: Change Your Website Theme
If you want to change the entire theme of your website:
Select the theme of your choice from the listed themes and then click on submit.
If you need assistance with any specific part of the website setup or customization, feel free to consult our other help articles or contact our support team. We’re here to help!